Configure FCM
Pusher relies on Firebase Cloud Messaging (FCM) to deliver push notifications to Android application users on your behalf. When we deliver push notifications, we use your FCM credentials. This page guides you through the process of getting an FCM Server Key and how to provide it to Pusher.
Head over to the Pusher dashboard and create a new instance of Beams. After that, you can either follow the interactive quick start over there, or return here to follow the documentation steps.
∞ Open Firebase Console
The first step is to go your Firebase console. Sign up if you haven‘t already.
∞ Create a new app
If you are using a pre-existing Firebase app, you can jump ahead to Get Your FCM Server Key. Otherwise you will create one now.
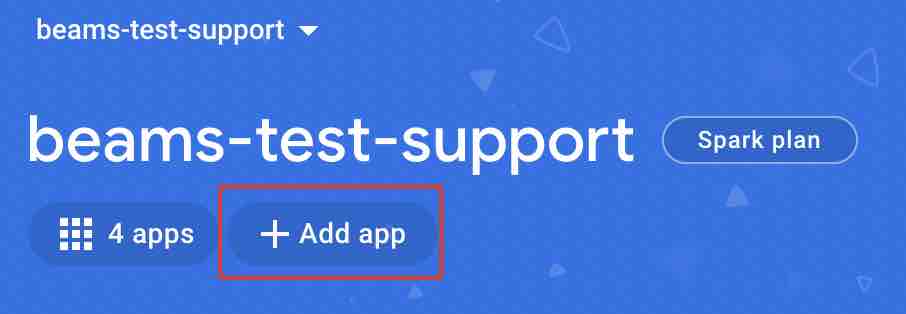
Add a project if you haven’t already. Then create a new app, by clicking the Add app button.

Click the Android icon.

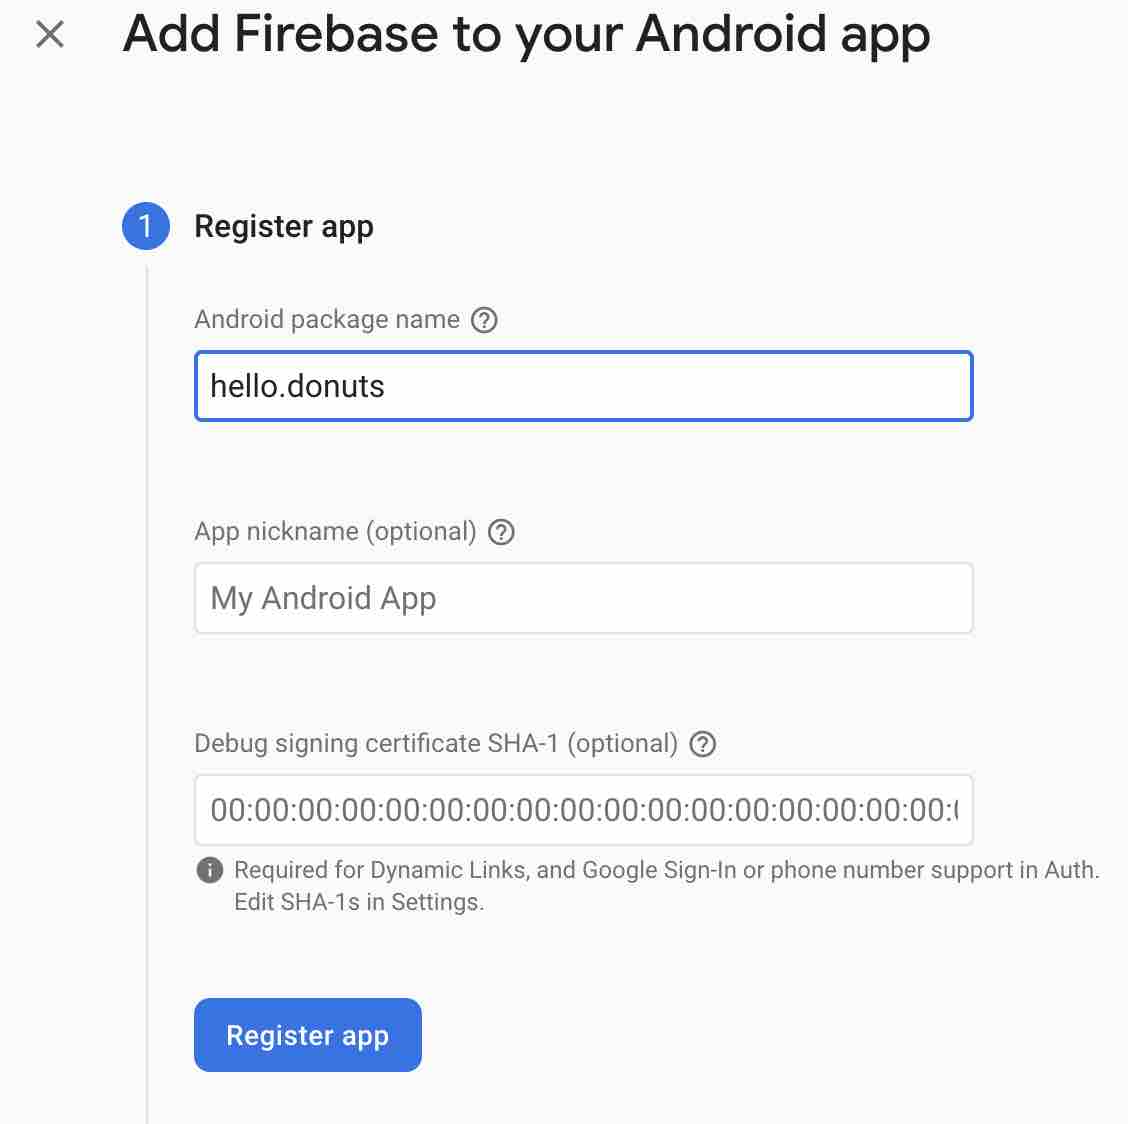
Supply your app’s package name, then click the Register app button.

∞ Download the Firebase Configuration File
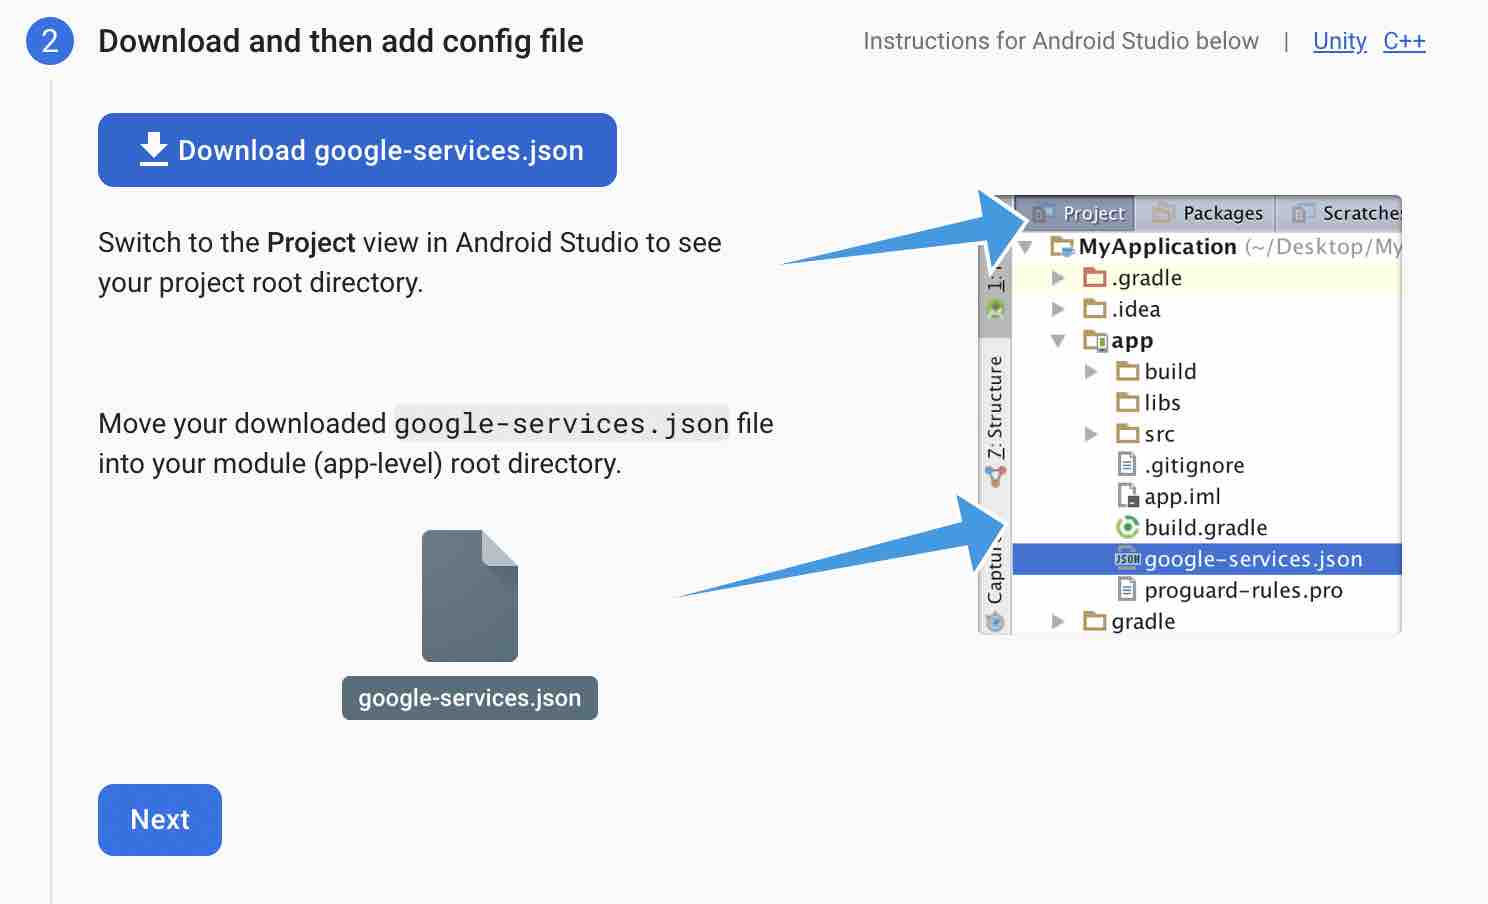
Once the app is registered, you should click the button to download the google-services.json.
Keep a note of the file‘s location, as eventually you will add it to your Android app‘s project on your computer.

∞ Get your FCM Server Key
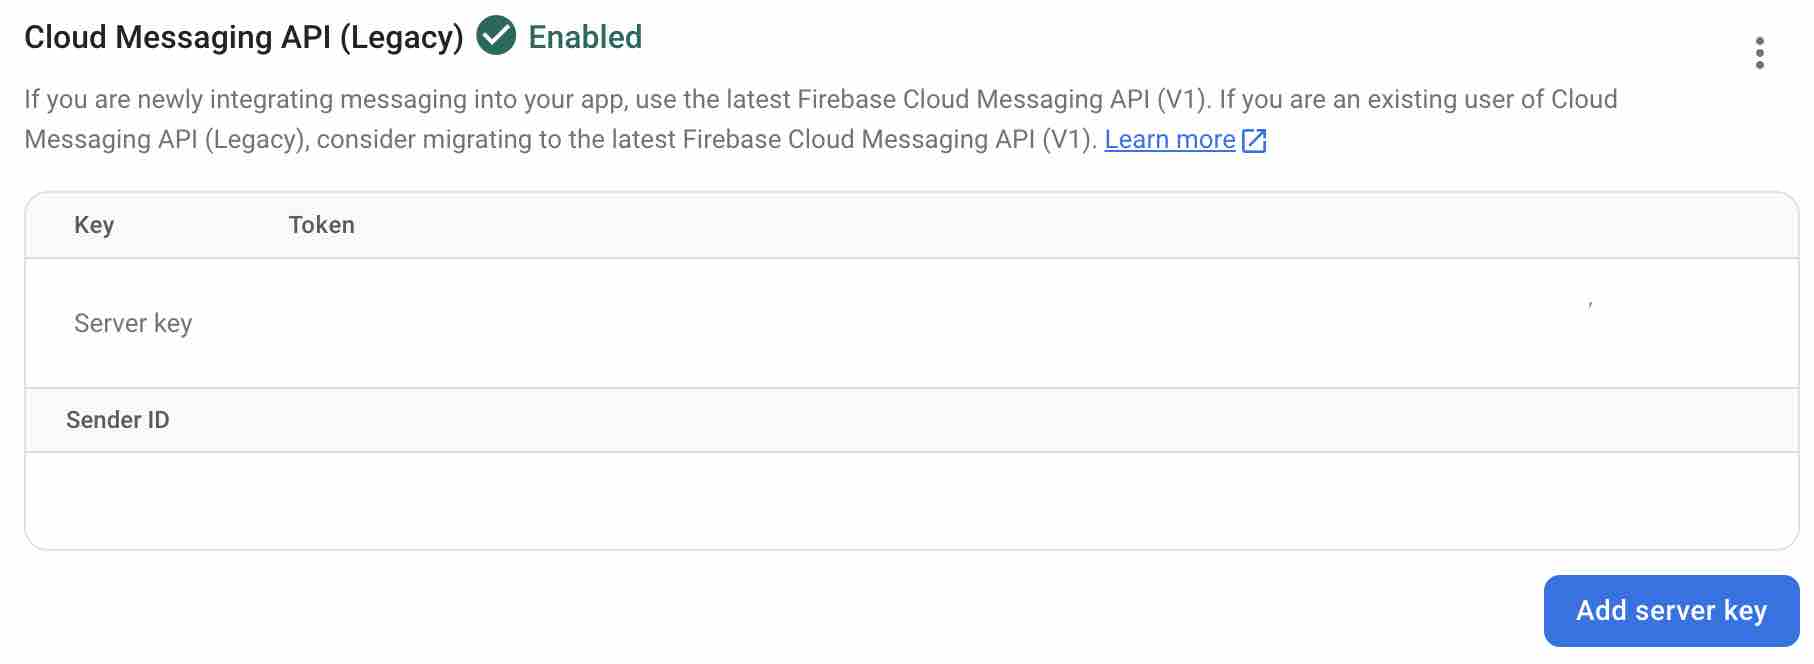
Go to your Firebase project‘s settings page, and then go to the Cloud Messaging tab.
You will need to enable the Legacy Cloud Messaging API, not the Firebase Cloud Messaging API.

Now you can copy the FCM Server Key.
If you are following the quick start guide in the Pusher Beams dashboard, return to it now with your FCM Server Key.
This FCM Server Key can be saved to your Pusher Beams instance in the dashboard.
∞ Where Next?
Now that you have configured FCM you can
integrate our Android SDK into your project.